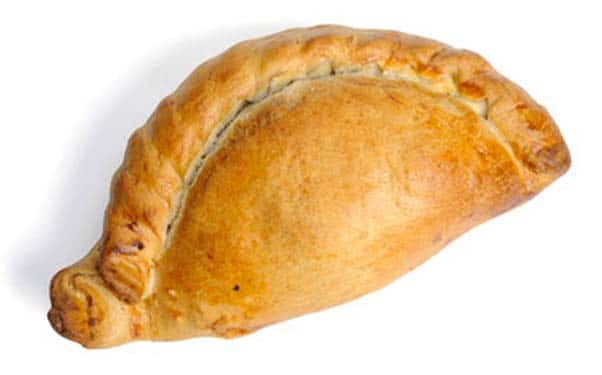
Craving a delicious and traditional Cornish pasty? You’ve come to the right place.
This award-winning Cornish pasty recipe is just what you need. The Cornish pasty is a beloved dish with a rich history. Originating from Cornwall, England, it has been a staple for centuries. This recipe has won awards for its perfect balance of flavors and authentic taste.
Imagine biting into a flaky, golden crust filled with tender meat, potatoes, and vegetables. It’s a comforting meal that satisfies every time. Whether you’re a pasty novice or a seasoned fan, this recipe is sure to impress. Ready to learn how to make this classic dish? Read on and discover the secrets to creating an award-winning Cornish pasty.
Credit: cornishpastyassociation.co.uk
Introduction To Cornish Pasties
Discover the award-winning Cornish pasty recipe, a traditional British dish filled with seasoned meat and vegetables. Learn how to create this delicious pastry that has won hearts and accolades alike.
The Cornish pasty is a beloved dish with a rich history. This savory pastry is a staple in Cornwall, England. Its unique taste and simple ingredients make it a favorite. Let’s dive into its origins and cultural significance.History And Origin
The Cornish pasty dates back to the 13th century. It was first made as a meal for tin miners. The miners needed a hearty, portable lunch. The pasty’s thick crust served as a handle. This kept their food clean from dirt and grime. Originally, the filling was simple. Meat, potatoes, and onions were common. Over time, other ingredients were added. Today, you can find many variations of the pasty.Significance In Cornish Culture
The pasty is more than just a meal. It’s a symbol of Cornish heritage. Many families have their own recipes. They pass these recipes down through generations. In Cornwall, pasties are celebrated. There are pasty festivals and competitions. These events honor the tradition and craft of pasty-making. The Cornish pasty even has a Protected Geographical Indication. This means only pasties made in Cornwall can be called “Cornish pasties.” This protection preserves the pasty’s authenticity and quality. Cornish pasties are a point of pride for the people of Cornwall. They connect the community and celebrate their history. “`Essential Ingredients
The secret to an award-winning Cornish pasty lies in its essential ingredients. Each ingredient plays a crucial role in creating the perfect balance of flavors. Let’s delve into the key components that make this traditional dish so special.
Traditional Components
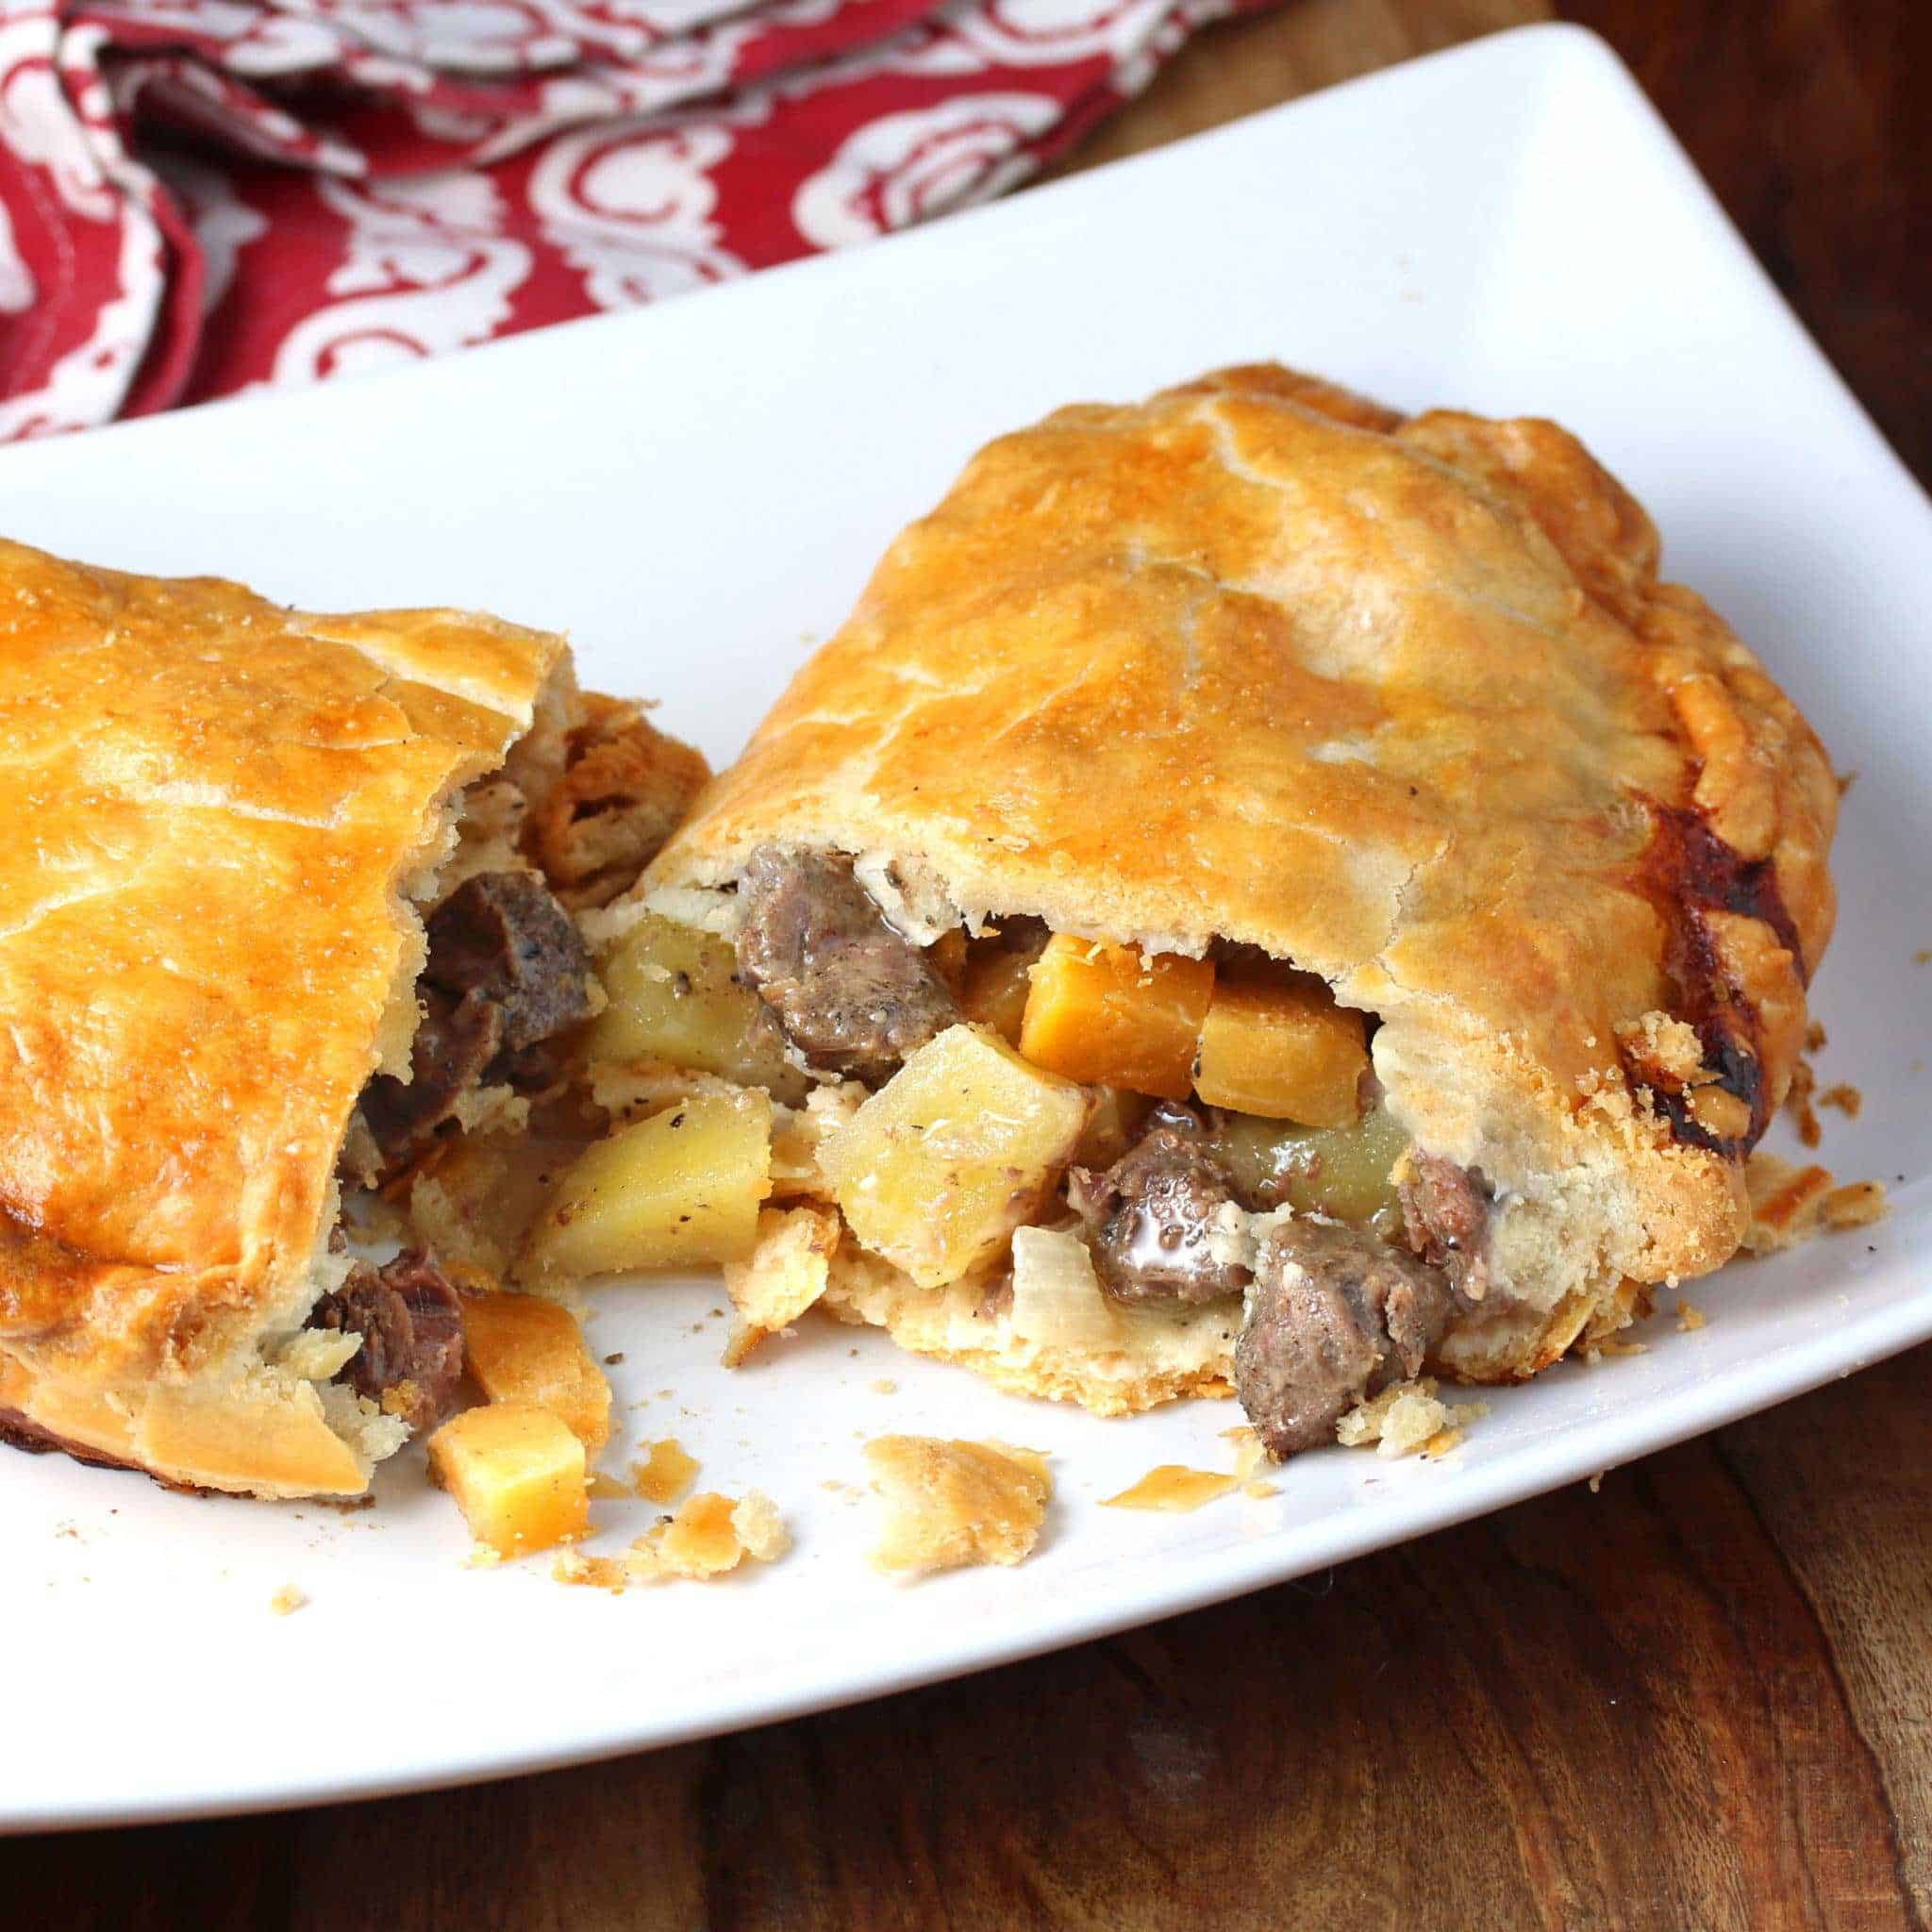
A true Cornish pasty starts with a sturdy pastry. This pastry needs to be strong enough to hold all the fillings. The traditional filling includes beef, potatoes, swede, and onions. These simple ingredients blend together to create a delicious, hearty filling.
Beef is the star of the show. Use skirt steak for its tenderness. Potatoes add bulk and absorb the flavors of the meat. Swede, also known as rutabaga, provides a sweet, earthy taste. Onions bring a subtle sharpness to the mix.
Choosing Quality Ingredients
Quality is key. Fresh, high-quality ingredients make a huge difference. Choose beef that is fresh and free from added hormones. Potatoes should be firm and free from sprouting. Swede should be firm and heavy for its size. Onions should be fresh and free from soft spots.
Always use fresh, unsalted butter for the pastry. This ensures a rich, flaky crust. Use sea salt to season the filling. Its coarse texture provides a better flavor.
Remember, each ingredient adds to the overall taste and texture. Pay attention to quality. Your Cornish pasty will be all the better for it.
Preparing The Pastry Dough
Preparing the pastry dough is a vital step in making the perfect Cornish pasty. Achieving the right texture and taste in the dough can make or break this traditional dish. Let’s dive into the process of making award-winning pastry dough.
Step-by-step Instructions
First, gather all your ingredients. You’ll need flour, butter, water, and a pinch of salt. Ensure the butter is cold. This will help create a flaky texture.
Next, mix the flour and salt in a large bowl. Cut the butter into small cubes and add it to the flour mixture. Use your fingertips to rub the butter into the flour until it resembles breadcrumbs.
Slowly add water, one tablespoon at a time. Mix until the dough starts to come together. Be careful not to add too much water. The dough should be firm but not sticky.
Once the dough forms a ball, wrap it in cling film. Chill it in the fridge for at least 30 minutes. This resting period helps the dough to relax and makes it easier to roll out later.
Tips For Perfect Dough
Keep all your ingredients cold. Cold butter creates flaky layers in the pastry. If the butter warms up, it can make the dough greasy and tough.
Do not overwork the dough. Overmixing can develop gluten in the flour, making the pastry tough. Handle the dough gently.
Rest the dough. Chilling the dough helps it firm up, making it easier to handle and roll out. It also prevents shrinkage during baking.
Roll out the dough evenly. Aim for a uniform thickness of about 1/8 inch. This ensures even baking and a consistent texture.
Use a light touch when rolling. Pressing too hard can cause the dough to stick or tear. Dust your surface and rolling pin with flour to prevent sticking.
Crafting The Filling
The secret to a perfect Cornish pasty lies in the filling. This section will guide you through the steps of crafting the filling, ensuring each bite is packed with flavor. Whether you prefer the classic taste or want to experiment with new ingredients, we’ve got you covered.
Classic Filling Recipe
The traditional Cornish pasty filling is hearty and delicious. It’s a simple combination of beef, potatoes, swede (rutabaga), and onions. These ingredients create a mouth-watering flavor that has been loved for generations.
Ingredients:
- 300g beef skirt or chuck steak, finely diced
- 150g potatoes, peeled and diced
- 100g swede (rutabaga), peeled and diced
- 1 medium onion, finely chopped
- Salt and pepper to taste
Instructions:
- Mix the beef, potatoes, swede, and onion in a large bowl.
- Season with salt and pepper. Stir well to combine.
- Your filling is now ready to be placed in the pastry.
Alternative Filling Ideas
Looking to try something new? Here are some alternative filling ideas that will delight your taste buds. These variations offer a creative twist on the classic recipe.
Chicken and Leek Filling:
- 300g chicken breast, finely diced
- 150g leeks, thinly sliced
- 100g potatoes, peeled and diced
- 1 medium onion, finely chopped
- Salt and pepper to taste
Instructions: Follow the same steps as the classic recipe, replacing beef with chicken and swede with leeks.
Vegetarian Filling:
- 200g butternut squash, peeled and diced
- 150g potatoes, peeled and diced
- 100g carrots, peeled and diced
- 1 medium onion, finely chopped
- Salt and pepper to taste
Instructions: Mix all the vegetables together in a large bowl. Season with salt and pepper. Stir well to combine. Use this mixture as your filling.
Assembling The Pasty
Assembling the Cornish pasty is a delicate art. It requires attention to detail to create the perfect pastry. This section will guide you through the process step-by-step.
Filling And Folding
Start by placing a generous spoonful of filling onto the center of the pastry circle. Ensure the filling is well-distributed. Avoid overfilling to prevent the pasty from breaking. Once the filling is in place, gently fold the pastry over to form a semi-circle. Align the edges carefully.
Sealing Techniques
Sealing the pasty is crucial. It keeps the filling inside while baking. Begin by pressing the edges together with your fingers. Create a tight seal. Next, use a fork to crimp the edges. This adds an extra layer of security. Ensure no gaps are visible. The pasty should be tightly sealed to hold its shape during baking.

Credit: phatathome.com
Baking To Perfection
The secret to a delicious Cornish pasty lies in the baking process. Getting the right temperature and crust can make all the difference. Below, we explore the essential steps for baking to perfection.
Optimal Baking Temperature
Setting the oven to the right temperature is crucial. Preheat your oven to 220°C (428°F). This ensures the pasty begins to bake immediately. The initial high temperature helps in creating a crispy crust. After 15 minutes, reduce the oven temperature to 180°C (356°F). This allows the filling to cook thoroughly without burning the crust.
| Stage | Temperature | Duration |
|---|---|---|
| Initial | 220°C (428°F) | 15 minutes |
| Final | 180°C (356°F) | 35-40 minutes |
Achieving The Perfect Crust
A golden, flaky crust is the hallmark of a great Cornish pasty. Follow these steps to ensure your pasty achieves this perfection:
- Chill the Dough: Cold dough holds its shape better and creates flakier layers. Chill your dough for at least 30 minutes before rolling it out.
- Brush with Egg Wash: Before baking, brush the pasty with an egg wash. This gives the crust a shiny, golden finish. Mix one beaten egg with a tablespoon of milk for the perfect egg wash.
- Seal the Edges: Crimp the edges of the pasty well. This prevents the filling from leaking and keeps the crust intact.
By following these steps, your Cornish pasty will have a crust that is both crispy and flavorful.
Serving Suggestions
The Award Winning Cornish Pasty is a delightful meal on its own. Yet, there are many ways to elevate this dish. Serving suggestions can transform your pasty into a true feast. Here, we explore accompaniments and presentation tips to enhance your dining experience.
Accompaniments And Sides
Pair your Cornish Pasty with simple sides. Traditional choices include mashed potatoes or peas. These sides complement the rich flavors of the pasty. Another option is a fresh, crisp salad. The lightness of the salad balances the hearty pasty. For a classic touch, add a serving of gravy. It adds depth and moisture to every bite.
For a unique twist, try roasted vegetables. Carrots, parsnips, and brussels sprouts work well. Their sweetness contrasts the savory pasty. Consider serving pickles or chutney on the side. These add a tangy kick and enhance the overall taste. Lastly, serve with a crusty bread roll. It’s perfect for soaking up any leftover juices.
Presentation Tips
Presentation makes a difference. Start by placing the pasty on a large, clean plate. Arrange your sides around the pasty. Use vibrant vegetables to add color. A sprinkle of fresh herbs adds a touch of elegance. Consider a garnish of parsley or chives. They add a pop of green and a hint of flavor.
Use sauces sparingly. A drizzle of gravy or a dollop of chutney is enough. Too much can overwhelm the dish. Arrange the table with care. Use matching plates and cutlery. Cloth napkins add a special touch. Set the scene with soft lighting. Candles or a gentle lamp create a cozy atmosphere. Finally, serve with a smile. A welcoming attitude enhances the meal.
Troubleshooting Common Issues
Even with the best recipes, problems can still occur. Making the perfect Cornish pasty requires attention to detail. Here, we will solve some common issues. Let’s ensure your pasties turn out perfect every time.
Preventing Soggy Bottoms
A soggy bottom can ruin a pasty. To avoid this, follow these steps:
- Use cold ingredients: Cold butter and water help make flaky pastry.
- Chill the dough: Let the dough rest in the fridge for at least 30 minutes.
- Drain fillings: Ensure your fillings are not too wet. Drain any excess moisture before adding.
- Bake on a hot tray: Preheat your baking tray in the oven. This helps the bottom cook faster.
Avoiding Overcooked Fillings
Overcooked fillings can turn dry and unappetizing. Here’s how to prevent it:
- Cut ingredients evenly: Ensure all filling pieces are the same size for even cooking.
- Cook meat partially: If using raw meat, partially cook it before adding to the pasty.
- Adjust cooking time: Bake pasties at a consistent temperature. Check doneness halfway through.
- Use a meat thermometer: Check the internal temperature of meat fillings. Aim for 165°F (74°C).
By following these tips, you can avoid common pitfalls. Your Cornish pasties will be the star of any meal.
Storing And Reheating
Store leftover Cornish pasties in an airtight container in the fridge. Reheat in the oven at 350°F for 15 minutes. Enjoy the fresh taste!
Fresh Cornish pasties are a delight. But storing and reheating them can be tricky. Proper storage and reheating methods keep them tasting as good as fresh. Below are some tips to help you enjoy your pasties later.Best Storage Practices
Store your Cornish pasties in an airtight container. This keeps them fresh and prevents them from drying out. Refrigerate if you plan to eat them within a few days. For longer storage, freeze them. Wrap them tightly in plastic wrap or aluminum foil first. This prevents freezer burn.Reheating Without Drying Out
Preheat your oven to 350°F (175°C). Place the pasty on a baking sheet. Cover it with aluminum foil to keep it moist. Bake for about 20 minutes. Remove the foil for the last 5 minutes. This ensures a crispy crust. Avoid microwaving pasties. This can make them soggy and unevenly heated. Enjoy your reheated Cornish pasties with the same delicious flavor as when fresh. “`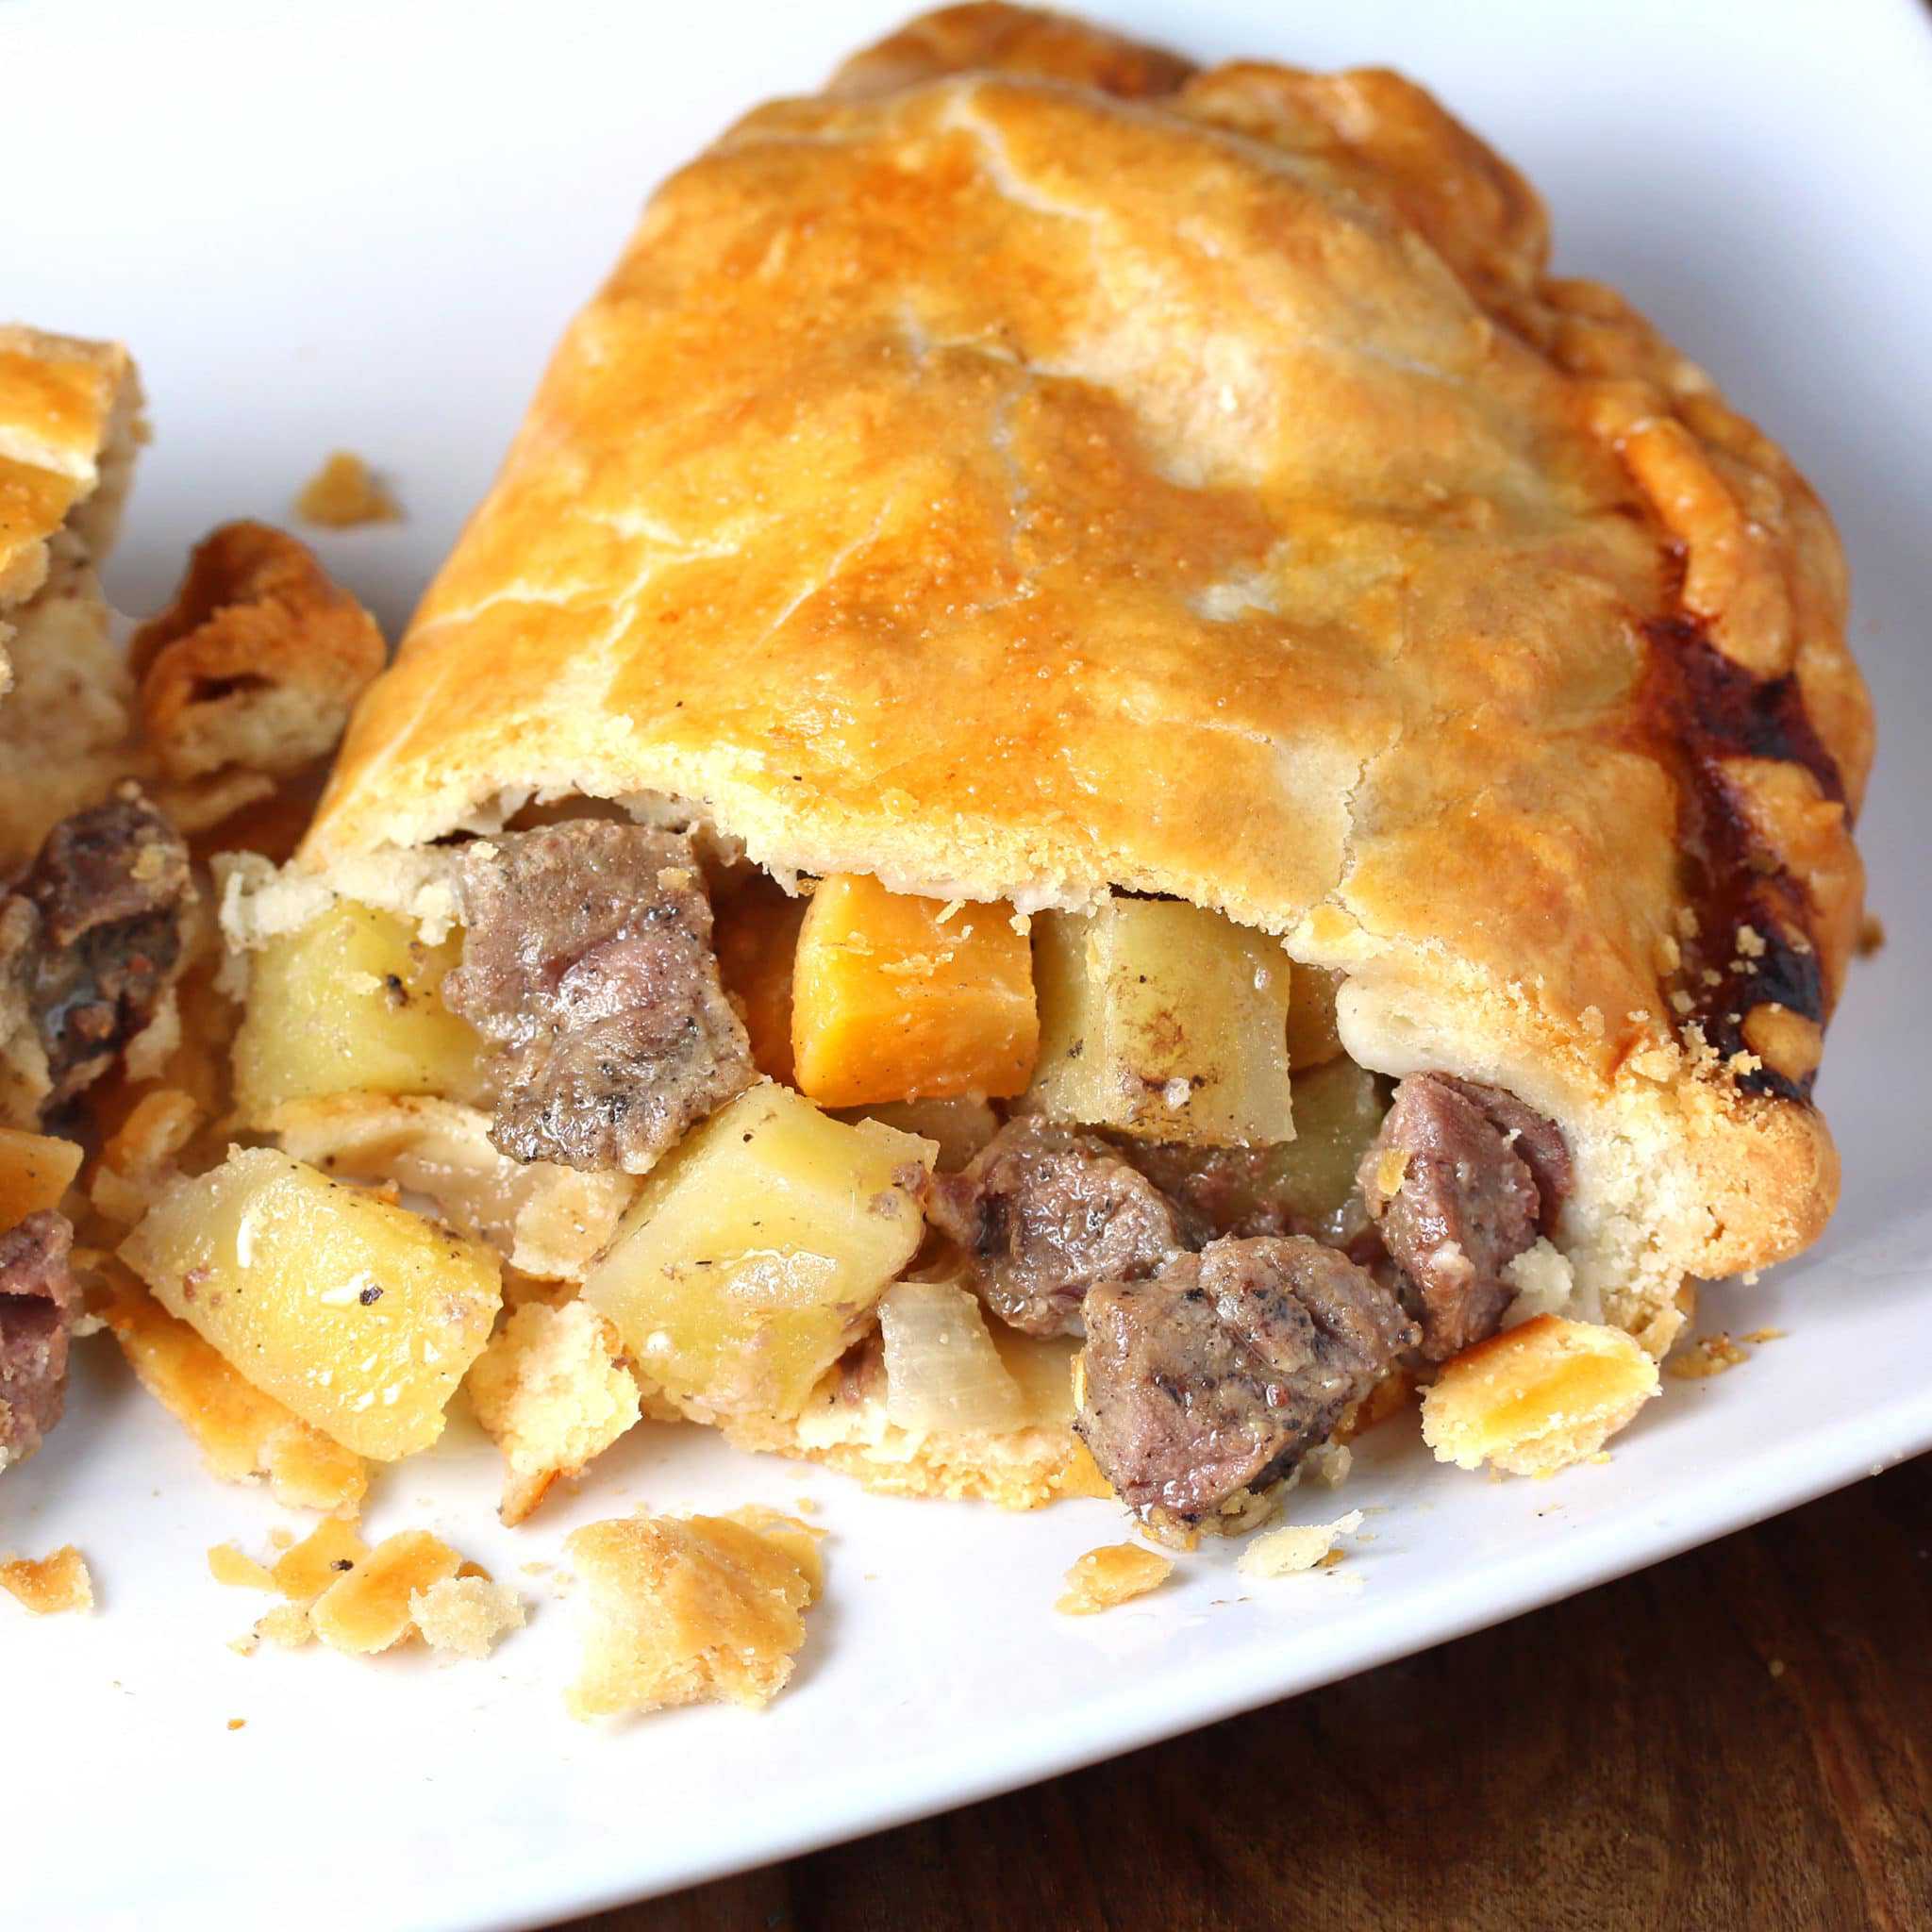
Credit: www.daringgourmet.com
Frequently Asked Questions
What Makes A Cornish Pasty Authentic?
An authentic Cornish pasty features a crimped edge and contains beef, potato, swede, and onion. It’s seasoned simply with salt and pepper.
How Do You Crimp A Cornish Pasty?
To crimp, fold the pastry edge and pinch it together. Continue to fold and pinch along the edge.
Can You Freeze Cornish Pasties?
Yes, you can freeze Cornish pasties. Wrap them individually and store in an airtight container.
What Is The Best Pastry For Cornish Pasties?
Shortcrust pastry is the traditional choice for Cornish pasties. It’s sturdy and holds the filling well.
Conclusion
Enjoy making and tasting this award-winning Cornish pasty recipe. It’s simple and delicious. Perfect for family dinners or special gatherings. The unique flavors will impress everyone. You can customize ingredients to suit your taste. Try this recipe today. Experience the rich Cornish tradition.
Your kitchen will smell amazing. Happy cooking and savor every bite!