Making Greek yogurt at home has never been easier. With an Instant Pot, you can create creamy, delicious yogurt with minimal effort.
Greek yogurt is a staple in many kitchens for its rich texture and health benefits. Store-bought options often have added sugars or preservatives. Making it at home gives you control over the ingredients. An Instant Pot simplifies the process, providing consistent results.
This guide will walk you through the best recipe for Greek yogurt using your Instant Pot. You’ll find it easy to follow and perfect for beginners. Get ready to enjoy fresh, homemade yogurt that’s healthier and tastier than store-bought versions. Let’s dive into the world of homemade Greek yogurt with your Instant Pot!

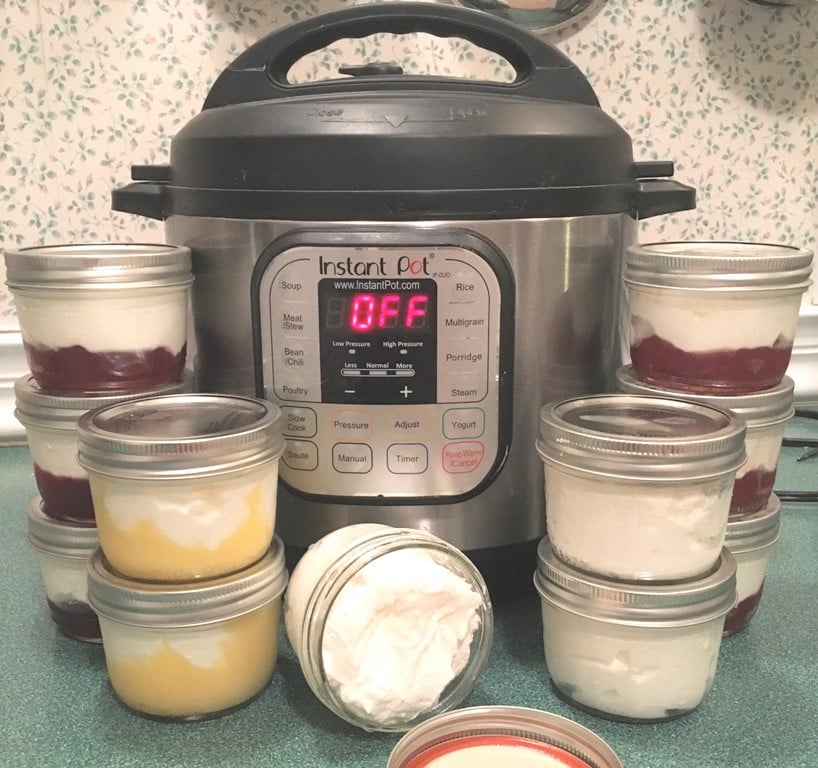
Credit: thisoldgal.com
Ingredients
Making Greek yogurt at home with an Instant Pot is simple and rewarding. The ingredients you use play a big role in the taste and texture of your yogurt. Below, we will break down the essential ingredients and some optional add-ins to elevate your Greek yogurt.
Essential Ingredients
To make creamy and delicious Greek yogurt, you need just a few basic ingredients:
- Milk: Use whole milk for a rich and creamy texture. You can also use 2% or skim milk, but the yogurt will be less creamy.
- Yogurt Starter: A small amount of plain yogurt with live cultures. This helps to kickstart the fermentation process.
Optional Add-ins
Customize your Greek yogurt with these optional add-ins:
- Sweeteners: Honey, maple syrup, or agave can add sweetness.
- Flavorings: Vanilla extract or fresh fruit for extra flavor.
- Thickeners: Powdered milk or gelatin to achieve a thicker consistency.
These add-ins can help you create a yogurt that suits your taste preferences.

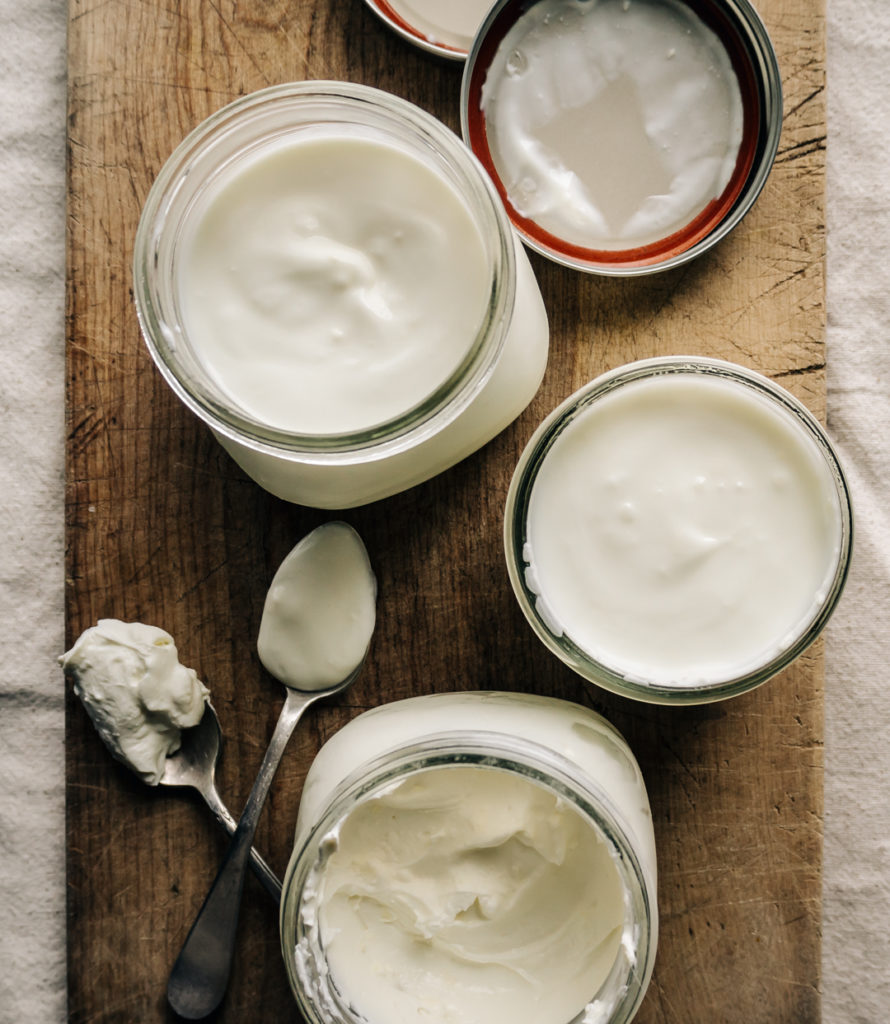
Credit: dishingupthedirt.com
Equipment Needed
Making Greek yogurt at home can be simple and fun with the right tools. The Instant Pot is the star of the show, but you’ll need a few other items to ensure your yogurt turns out perfect. Let’s dive into the essential equipment required for your homemade yogurt adventure.
Instant Pot Features
The Instant Pot is a versatile kitchen appliance that makes cooking easier. For making Greek yogurt, you need an Instant Pot with a Yogurt function. This feature allows you to ferment the milk at the right temperature.
Ensure your Instant Pot has the following features:
- Yogurt button: Essential for the fermentation process.
- Stainless steel inner pot: Easy to clean and durable.
- Sealing ring: Ensures the lid is properly sealed during the process.
- Temperature control: Maintains the right temperature for culturing yogurt.
These features help you create creamy, delicious Greek yogurt with minimal effort.
Additional Tools
Besides the Instant Pot, a few other tools are necessary to make Greek yogurt at home. Here’s a list of additional equipment:
| Tool | Purpose |
|---|---|
| Thermometer | To check the milk temperature. |
| Whisk | For mixing starter culture into the milk. |
| Cheesecloth or Nut Milk Bag | For straining the yogurt to achieve the desired thickness. |
| Strainer | To hold the cheesecloth or nut milk bag while straining. |
| Mixing Bowl | To hold the strained yogurt. |
Using these tools ensures your yogurt-making process is smooth and successful. Remember, each item plays a crucial role in achieving that perfect, thick Greek yogurt texture.
Preparation Steps
Making Greek yogurt in an Instant Pot is simple and rewarding. Follow these preparation steps for the best results. The process is divided into two main parts: heating the milk and cooling the milk. Let’s get started!
Heating The Milk
First, pour half-gallon of milk into the Instant Pot. Press the “Yogurt” button and select the “Boil” option. The Instant Pot will heat the milk to 180°F to 200°F. This step ensures the milk is safe and ready for yogurt-making. Stir occasionally to prevent the milk from burning. The heating process takes about 30 minutes.
Cooling The Milk
Once the milk reaches the desired temperature, remove the inner pot. Allow the milk to cool to 110°F. This cooling period is crucial. Too hot, and it will kill the yogurt cultures. Use a thermometer for accuracy. You can place the pot in an ice bath to speed up the cooling. Stir the milk to distribute the temperature evenly.
Inoculating The Milk
Inoculating the milk is a crucial step in making Greek yogurt with your Instant Pot. This step ensures the milk turns into creamy, delicious yogurt. Read on to learn more about choosing and mixing the starter culture.
Choosing A Starter Culture
The starter culture is the key to your yogurt’s taste and texture. Choose a plain Greek yogurt with live cultures. It must be plain without any added flavors or sweeteners. Check the label for “live and active cultures.” This guarantees your yogurt will have the right bacteria.
Mixing The Culture
Once you have your starter culture, mix it with a small amount of warm milk. This helps to blend the cultures well. Use a whisk to combine the yogurt and milk smoothly. Then, add this mixture back into the rest of the milk. Stir gently but thoroughly to distribute the cultures evenly. Now, your milk is ready to incubate in the Instant Pot. This step is vital for achieving perfect Greek yogurt.
Incubation Process
The incubation process is a crucial step in making Greek yogurt with an Instant Pot. This step determines the yogurt’s texture and taste. A good incubation process results in thick, creamy, and tangy yogurt. Let’s explore the key aspects of the incubation process.
Setting The Instant Pot
First, ensure your Instant Pot is clean. This avoids contamination. Pour the milk into the Instant Pot. Use a yogurt setting if available. Otherwise, use the “Keep Warm” setting. The temperature should stay around 110°F. This is the ideal temperature for yogurt cultures to thrive.
Optimal Incubation Time
The incubation time affects the yogurt’s flavor and texture. For mild yogurt, incubate for 6-8 hours. For tangier yogurt, extend the time to 10-12 hours. Check the yogurt every few hours. The longer it incubates, the thicker and tangier it becomes. Adjust the time based on your preference. Once done, transfer the yogurt to the fridge. This stops the incubation and sets the yogurt.
Straining The Yogurt
Creating thick and creamy Greek yogurt involves an important step: straining. This process removes the whey and leaves behind a deliciously rich texture. Straining might seem tricky, but with the right tools and technique, it is straightforward and rewarding.
Using A Strainer
First, you will need a fine-mesh strainer or cheesecloth. Place it over a large bowl to catch the whey. Pour the yogurt into the strainer carefully. Make sure it does not overflow.
For best results, use a large spoon or spatula to help the yogurt settle evenly. This ensures even straining. If you prefer, you can use a nut milk bag instead of a cheesecloth. Both work well.
Achieving Desired Thickness
The thickness of your Greek yogurt depends on how long you let it strain. For a thicker consistency, let it strain for at least 2 hours. If you like it extra thick, leave it overnight in the refrigerator.
| Straining Time | Thickness Level |
|---|---|
| 2-4 hours | Moderate |
| 4-8 hours | Thick |
| Overnight | Extra Thick |
Straining longer also intensifies the flavor. Taste it at intervals to find your perfect thickness. Once you achieve the desired consistency, transfer the yogurt to an airtight container and refrigerate.
Remember, the whey you strain out can be used in smoothies or baking. Do not throw it away. Enjoy your homemade Greek yogurt with fruit, honey, or granola for a healthy treat.
Serving Suggestions
The joy of making Instant Pot Greek Yogurt is not just the process but also the delightful ways to serve it. From topping ideas to storing it right, serving suggestions can enhance your yogurt experience.
Topping Ideas
Elevate your Greek yogurt with these delicious toppings:
- Fresh Fruits: Add slices of strawberry, banana, or blueberries.
- Honey: Drizzle a bit of honey for a touch of sweetness.
- Nuts: Sprinkle almonds, walnuts, or pistachios for crunch.
- Granola: Mix in some granola for extra texture.
- Chia Seeds: A spoonful adds fiber and Omega-3s.
- Cinnamon: A dash of cinnamon brings warmth and flavor.
Storing Greek Yogurt
Proper storage keeps your homemade yogurt fresh and delicious.
- Refrigerate: Store in an airtight container in the fridge.
- Shelf Life: It stays fresh for up to 2 weeks.
- Freezing: Freeze in small portions for up to 2 months.
- Thawing: Thaw in the fridge overnight for best results.
Enjoy your Instant Pot Greek Yogurt with these serving suggestions and make each bite delightful!

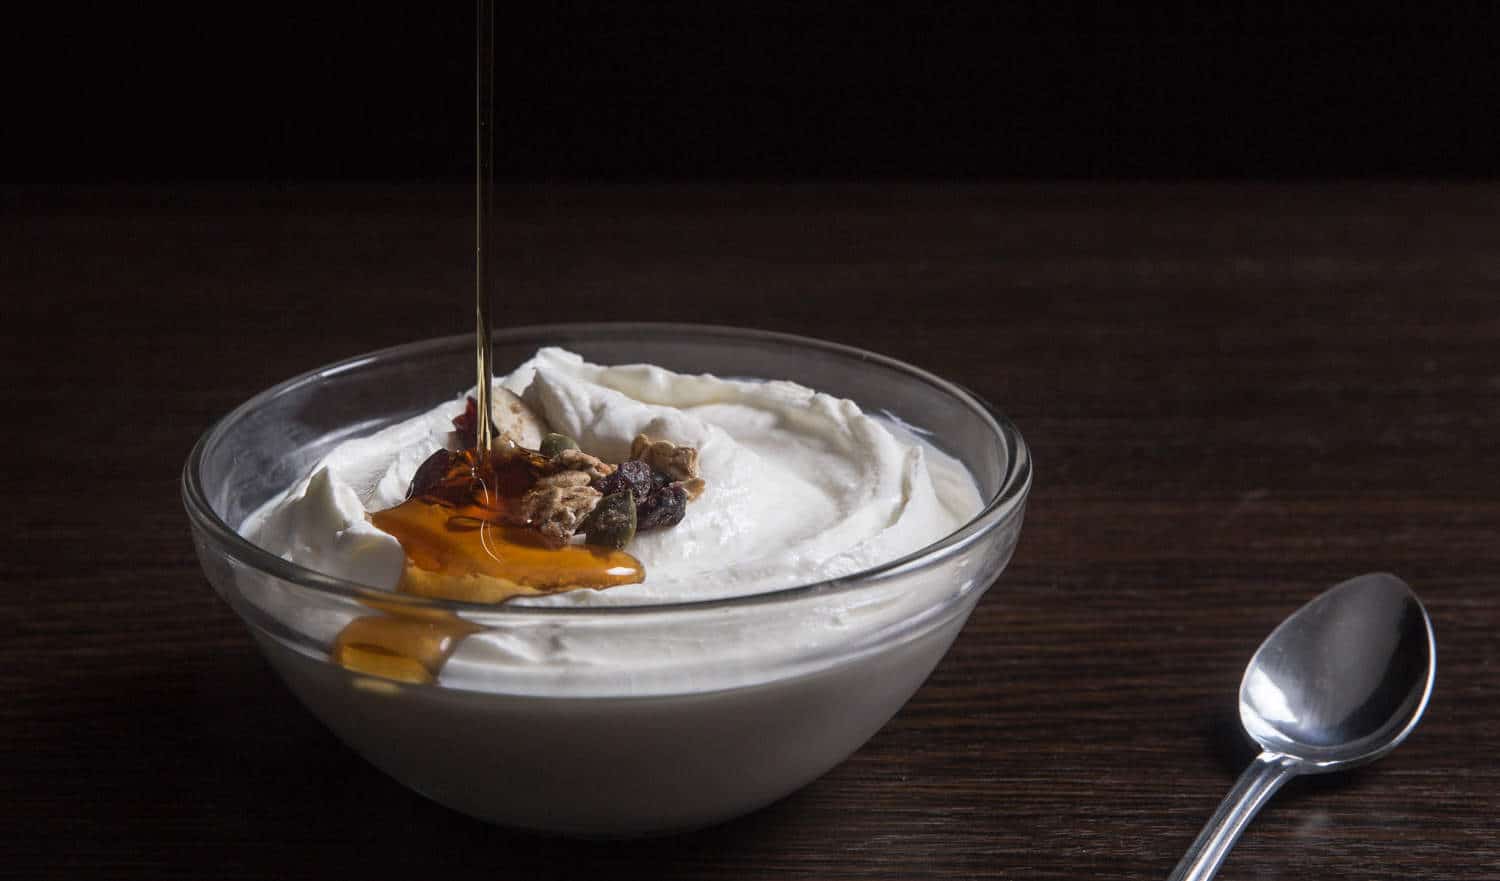
Credit: www.pressurecookrecipes.com
Troubleshooting Tips
Making Greek yogurt in an Instant Pot is simple. Yet, sometimes things don’t go as planned. This section covers common issues and their fixes. These tips will help you get perfect yogurt every time.
Common Issues
One common issue is yogurt not setting. This can be frustrating. Another problem is a runny texture. Sometimes, the yogurt can turn out too sour. Lastly, there may be a lumpy consistency.
Fixes And Adjustments
If your yogurt isn’t setting, check the starter culture. It must be fresh and active. Runny texture can be fixed by increasing incubation time. You can also try straining the yogurt longer.
For too sour yogurt, reduce the incubation time. Taste it periodically. If your yogurt is lumpy, whisk it well before chilling. This helps in achieving a smooth texture.
Frequently Asked Questions
How To Make Greek Yogurt In An Instant Pot?
Making Greek yogurt in an Instant Pot is simple. First, heat the milk. Then, add yogurt starter. Incubate until thickened. Finally, strain to desired consistency.
Can I Use Any Milk For Instant Pot Yogurt?
You can use any milk for Instant Pot yogurt. However, whole milk produces the creamiest texture. Skim milk results in a thinner yogurt.
How Long Does Instant Pot Yogurt Take?
Instant Pot yogurt typically takes around 8-10 hours. Heating and cooling add additional time. Plan for a full day process.
Do I Need Special Equipment For This Recipe?
No special equipment is needed for this recipe. You only need an Instant Pot, a thermometer, and a strainer for thickening.
Conclusion
Making Greek yogurt in an Instant Pot is simple and rewarding. The process is easy to follow. The result? Delicious, creamy yogurt every time. Perfect for breakfast or a snack. Plus, it’s healthier and fresher than store-bought. Give this recipe a try.
You’ll love the taste and texture. Share with friends and family. Enjoy your homemade Greek yogurt.
