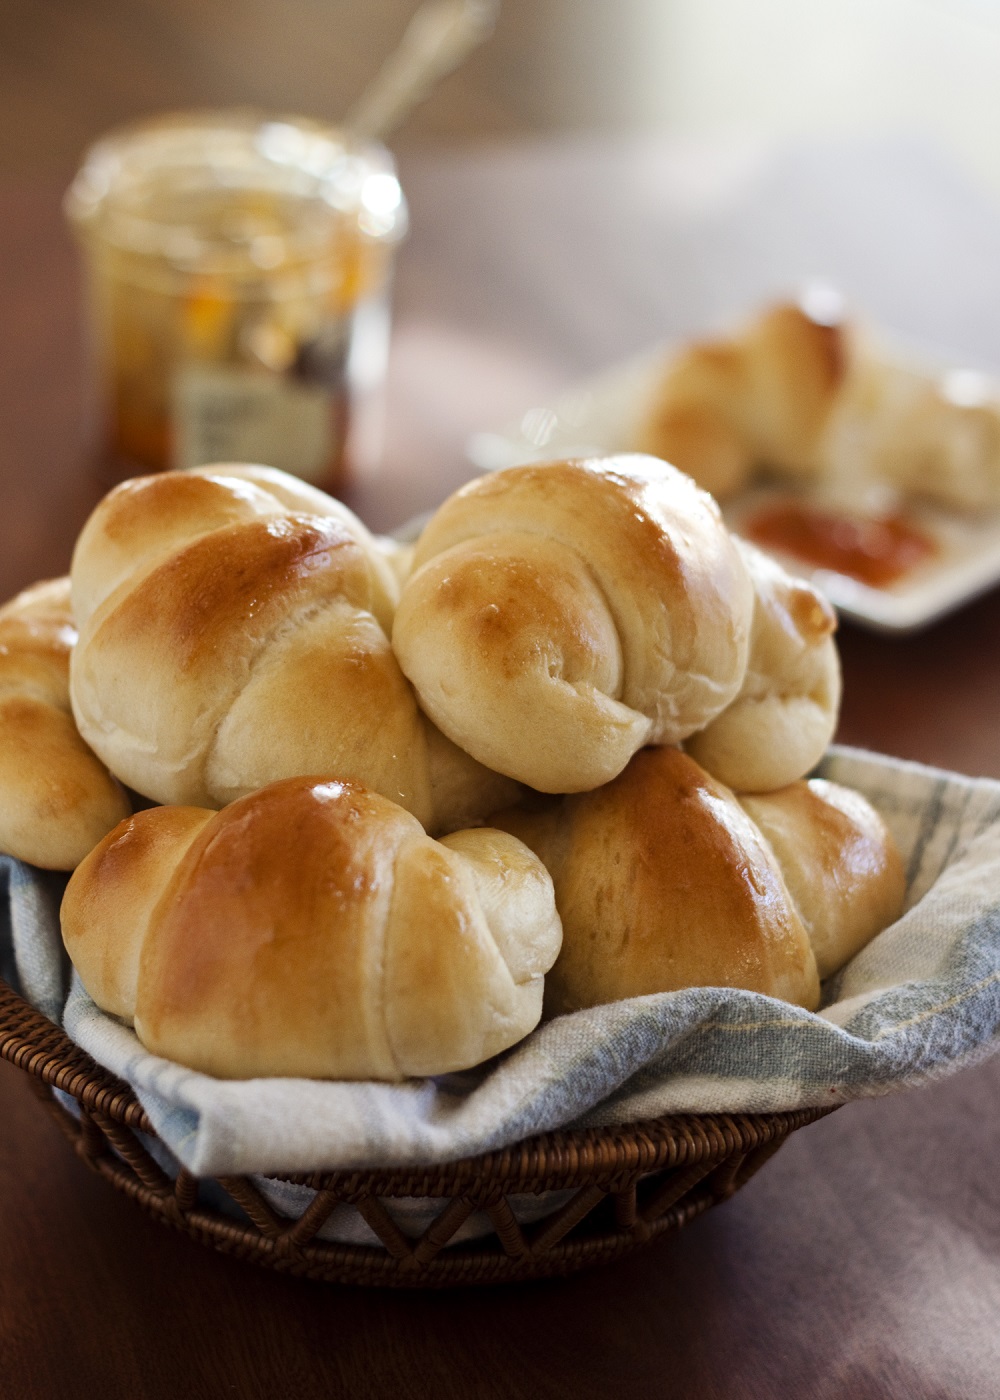
Baking bread at home is satisfying and fun. Refrigerator yeast bread recipes make it even easier.
These recipes allow you to prepare dough ahead of time and bake fresh bread on demand. Imagine waking up to the smell of fresh bread baking in your oven. Refrigerator yeast bread recipes offer this convenience. They let the dough rise slowly in the fridge.
This means you can mix the dough one day and bake it the next. It’s perfect for busy schedules. No need to rush through the process. You can enjoy warm, homemade bread anytime. These recipes are simple and straightforward. Even beginners can try them. So, let’s explore how you can make delicious bread with these easy recipes.
Introduction To Refrigerator Yeast Bread
Imagine the joy of waking up to the smell of fresh bread. With refrigerator yeast bread, this dream can come true. This method allows you to prepare dough, refrigerate it, and bake it later. It’s convenient and perfect for busy schedules.
What Is Refrigerator Yeast Bread?
Refrigerator yeast bread is a type of bread dough that you can store in the refrigerator. It uses yeast to rise, but the process is slower due to the cold temperature. This slow rise enhances the flavor and texture of the bread.
Unlike traditional bread, this method offers flexibility. You can prepare the dough in advance and bake it at your convenience. It’s ideal for those who want fresh bread without the rush.
Benefits Of Homemade Bread
Homemade bread offers numerous benefits. Here are some key points:
- Healthier Ingredients: Control what goes into your bread.
- Cost-effective: Save money by baking at home.
- Customization: Add your favorite ingredients.
- Freshness: Enjoy bread that is always fresh.
Making bread at home can be a rewarding experience. You know exactly what is in your bread. No preservatives, no artificial flavors. Just pure, simple ingredients.
Baking bread can also be therapeutic. The process of kneading dough can be soothing. And the aroma of fresh bread can lift your spirits.
Credit: redstaryeast.com
Essential Ingredients
Creating delicious bread from your refrigerator is both fun and easy. The right ingredients make all the difference. This section will guide you through the essentials you need.
Basic Ingredients List
Begin with simple items. Flour, water, yeast, and salt form the base. Flour gives the bread structure. Use all-purpose flour for best results.
Water activates the yeast and brings the dough together. Use lukewarm water. It helps the yeast grow. Salt adds flavor and controls yeast activity.
Other optional ingredients include sugar, milk, and butter. Sugar feeds the yeast. Milk makes the bread tender. Butter adds richness.
Choosing The Right Yeast
Yeast is a crucial ingredient. It helps the bread rise. There are different types of yeast. Active dry yeast and instant yeast are common.
Active dry yeast needs to be dissolved in water first. Instant yeast can be mixed directly with the flour. Each type has its own benefits.
Pick the yeast that suits your recipe. Instant yeast is quick and easy. Active dry yeast gives a more traditional flavor.
Store yeast in a cool place. It keeps the yeast fresh. Fresh yeast gives the best results.
Necessary Equipment
Embarking on the journey of refrigerator yeast bread recipes can be a delightful experience. To ensure success, having the right equipment is essential. This section covers the necessary tools and gadgets for baking yeast bread from the comfort of your kitchen.
Must-have Baking Tools
These tools are essential for any home baker looking to perfect their refrigerator yeast bread recipes:
- Mixing Bowls: Use large and medium-sized bowls for mixing ingredients and letting the dough rise.
- Measuring Cups and Spoons: Accurate measurements are crucial for the perfect loaf.
- Wooden Spoon: Ideal for mixing dough without a stand mixer.
- Baking Sheet or Loaf Pan: Choose based on the shape and size of your bread.
- Plastic Wrap or Kitchen Towel: Cover the dough while it rests and rises.
Optional Gadgets
While not necessary, these gadgets can make the baking process smoother and more enjoyable:
- Stand Mixer: Reduces the effort of kneading dough by hand.
- Instant-Read Thermometer: Ensures your bread is baked to the correct internal temperature.
- Bread Lame: Helps score the dough for better rise and appearance.
- Kitchen Scale: Provides precise measurements for consistent results.
- Cooling Rack: Allows the bread to cool evenly, preventing soggy bottoms.
Equipped with these tools, you are ready to bake delicious refrigerator yeast bread. Happy baking!

Credit: afewshortcuts.com
Preparing The Dough
Preparing the dough is the most crucial step in making refrigerator yeast bread. It sets the foundation for the bread’s texture and flavor. Properly mixed and kneaded dough ensures a delicious loaf. Let’s dive into the details of preparing the dough.
Mixing Ingredients
Start by gathering all your ingredients. You will need flour, yeast, water, salt, and sugar. Use fresh ingredients for the best results. Measure each ingredient accurately. This ensures consistency in the dough.
Combine the dry ingredients first. Mix the flour, yeast, salt, and sugar in a large bowl. Make a well in the center of the dry mix. Pour in the water gradually. Stir with a wooden spoon until a sticky dough forms. Be patient during this process.
Kneading Techniques
Once the dough is mixed, it’s time to knead. Kneading develops the gluten, giving the bread its structure. Flour your work surface lightly. Turn the dough out onto the surface.
Use the heel of your hand to push the dough away from you. Fold it back over itself. Turn the dough a quarter turn and repeat. Continue kneading for 10 minutes. The dough should be smooth and elastic.
If the dough sticks to your hands, add a little more flour. But avoid adding too much. Excessive flour can make the bread dense. Knead until the dough passes the windowpane test. To do this, stretch a small piece of dough thin. If it doesn’t tear easily, it’s ready.
Refrigeration Process
Refrigerating bread dough can change your baking routine. This method offers flexibility and convenience. The dough develops flavor and texture while chilling. Let’s explore the key aspects of the refrigeration process.
Optimal Refrigeration Time
The ideal refrigeration time varies. Most recipes suggest 12 to 24 hours. This allows flavors to develop fully. For a milder taste, chill for a shorter period. Longer refrigeration can enhance the tangy flavor. Monitor the dough closely during this time.
Storing The Dough
Proper storage is essential for quality results. Use a large, airtight container. The dough will expand as it chills. Ensure the container has enough space. Cover the dough loosely with plastic wrap. This prevents drying out. Keep the dough in the coldest part of the fridge. Consistent temperature is crucial. Avoid frequent opening of the fridge door.
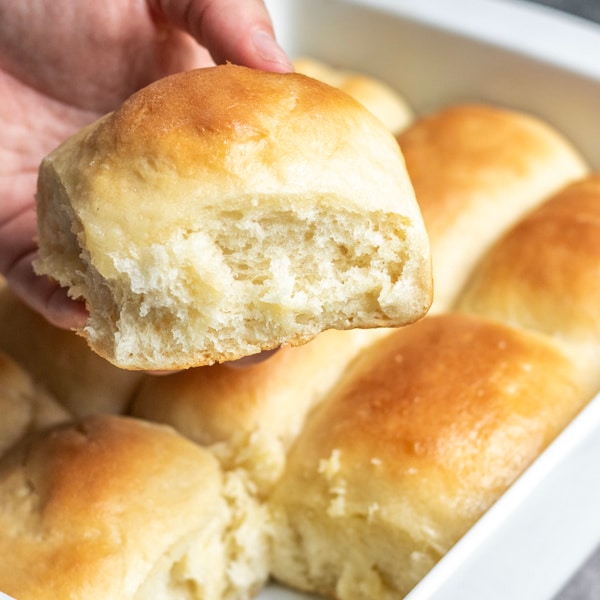
Baking The Bread
Baking your refrigerator yeast bread is an exciting step. This is where your dough transforms into a delicious loaf. The process involves preheating the oven, setting the right temperature, and timing the bake correctly. Each step is crucial for perfect bread.
Preheating The Oven
Always start by preheating your oven. This ensures even baking. Set your oven to the temperature specified in your recipe. Usually, this is around 375°F (190°C). Let it heat up fully before placing the dough inside. A hot oven helps the bread rise well.
Baking Time And Temperature
Place your dough in the preheated oven. Bake it for the time given in your recipe. Most breads take about 25-30 minutes. Keep an eye on the crust. It should turn golden brown. Use a thermometer to check if needed. The internal temperature should be 190°F (88°C). This ensures your bread is cooked through. Enjoy the aroma filling your kitchen!
Popular Recipes
Refrigerator yeast bread recipes are convenient. They allow you to prepare dough ahead of time. You can store the dough in the fridge and bake fresh bread later. Let’s explore some popular recipes.
Classic White Bread
Classic white bread is a favorite. It is soft and fluffy. Making this bread at home is easy with a few steps.
- Ingredients:
- 4 cups all-purpose flour
- 2 1/4 tsp active dry yeast
- 2 tbsp sugar
- 1 1/2 tsp salt
- 1 1/2 cups warm water
- 2 tbsp melted butter
- Mix flour, yeast, sugar, and salt in a large bowl.
- Add warm water and melted butter. Stir until the dough forms.
- Knead the dough for 8-10 minutes. It should be smooth and elastic.
- Place the dough in a greased bowl. Cover it and refrigerate overnight.
- Remove the dough from the fridge. Let it rise for 1-2 hours at room temperature.
- Preheat the oven to 375°F (190°C).
- Shape the dough into a loaf. Place it in a greased loaf pan.
- Bake for 30-35 minutes until golden brown.
- Let it cool before slicing.
Whole Wheat Bread
Whole wheat bread is healthy. It is rich in fiber and nutrients. This recipe is simple.
- Ingredients:
- 3 cups whole wheat flour
- 1 cup bread flour
- 2 1/4 tsp active dry yeast
- 3 tbsp honey
- 1 1/2 tsp salt
- 1 1/2 cups warm water
- 2 tbsp olive oil
- Combine whole wheat flour, bread flour, yeast, and salt in a bowl.
- Add honey, warm water, and olive oil. Mix until the dough forms.
- Knead for 10 minutes until smooth and elastic.
- Place the dough in a greased bowl. Cover and refrigerate overnight.
- Take out the dough. Let it rise for 1-2 hours at room temperature.
- Preheat the oven to 375°F (190°C).
- Shape the dough into a loaf. Put it in a greased loaf pan.
- Bake for 35-40 minutes until golden brown.
- Cool before slicing.
Credit: www.homemadeinterest.com
Tips And Tricks
Making bread with yeast can be fun and rewarding. But, getting it right can be tricky. Use these tips and tricks to improve your refrigerator yeast bread recipes.
Achieving The Perfect Crust
A perfect crust makes bread taste and look great. Start by preheating your oven. A hot oven helps form a good crust. Use a baking stone or steel if you have one. These hold heat well. Steam your oven in the first few minutes. Put a pan of water at the bottom. Or, spray water inside with a spray bottle. This keeps the crust soft while the bread rises. Once it rises, it will form a nice, crisp crust.
Storing Baked Bread
Store your bread properly to keep it fresh. Let the bread cool completely before storing. Wrap it in a clean cloth or place it in a paper bag. This will keep the crust crisp. For longer storage, use plastic wrap or an airtight container. This keeps the bread from drying out. Freeze bread if you cannot eat it in a few days. Slice it first. Then, wrap it in plastic and place it in a freezer bag. Thaw slices at room temperature or in a toaster.
Frequently Asked Questions
What Is Refrigerator Yeast Bread?
Refrigerator yeast bread is a type of bread dough that can be stored in the refrigerator. This allows it to ferment slowly. It offers convenience and flexibility for baking fresh bread.
How Long Can You Store Yeast Dough In The Fridge?
You can store yeast dough in the refrigerator for up to three days. This slow fermentation process enhances the flavor of the bread. Ensure it’s stored in an airtight container.
Can I Bake Bread Straight From The Fridge?
Yes, you can bake bread straight from the fridge. Allow the dough to come to room temperature first. This ensures even baking and better texture.
Do Refrigerator Yeast Breads Taste Different?
Refrigerator yeast breads often have a richer flavor. The slow fermentation process enhances the dough’s taste. It can result in a more complex and tangy flavor profile.
Conclusion
Creating delicious bread with refrigerator yeast is simple and rewarding. These recipes fit into busy schedules easily. Let your dough rest overnight and enjoy fresh bread. Baking at home saves money and enhances meals. Try different recipes and discover your favorite flavors.
Share your homemade bread with family and friends. Enjoy the satisfaction of baking from scratch. Happy baking!